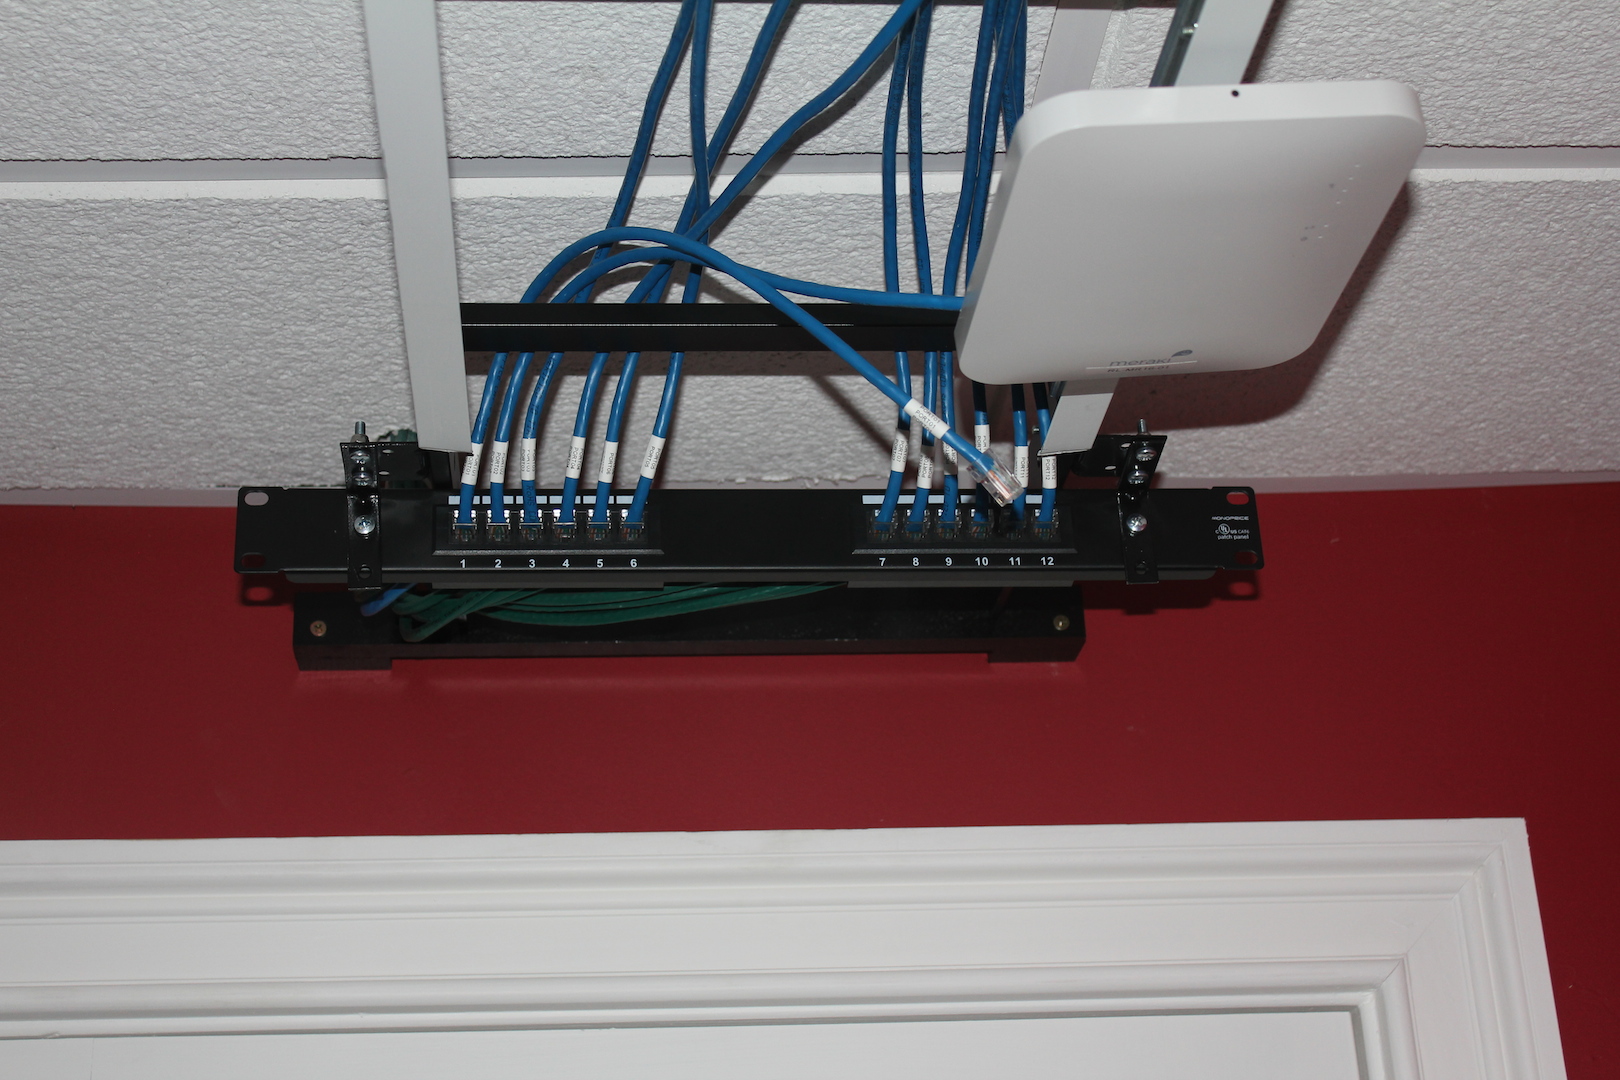
I’ve always felt that the best way to lab and test wireless gear is in the same orientation that it’ll be installed, for most that is a little hard to do as you don’t have a drop down ceiling grid in your home. Luckily my office did have a ceiling grid, so I was able to hang them all up. As you can see it allowed me to have proper orientation for ceiling mounted APs that I would be testing, and it worked quite well. But then my office got a little water damage so a remodel was in line, I used a new ceiling grid system that mounts directly to the joists, this made it hard to simply push up a tile and run cable or mount an AP so I had to come up with a new solution. I wanted something that was still flexible and easy to change the APs out, contain a patch panel for plugging in the APs back to the rack, and it needed to provide the same proper orientation.
So what was the solution? Well I figured I needed something that was going to be strong and sturdy enough for a 11′ span across a ceiling from one wall to another. I started looking around at different options and the first thing that came to mind that would be sturdy enough is present in most all data centers around the world: ladder racking. If I could get a section of ladder racking, mount it to the wall somehow, that would give me a sturdy base. I found a decently priced section of ladder racking from Amazon.com (link) that was Prime eligible for free shipping (a big plus!). I ordered it up ignoring the requirements that it needed hoping to come up with my own solution. I know these are typically mounted to the top of racks or to hangers hung from the ceiling so conventional mounting options were not going to work, figured I would figure it out once the racking arrived.
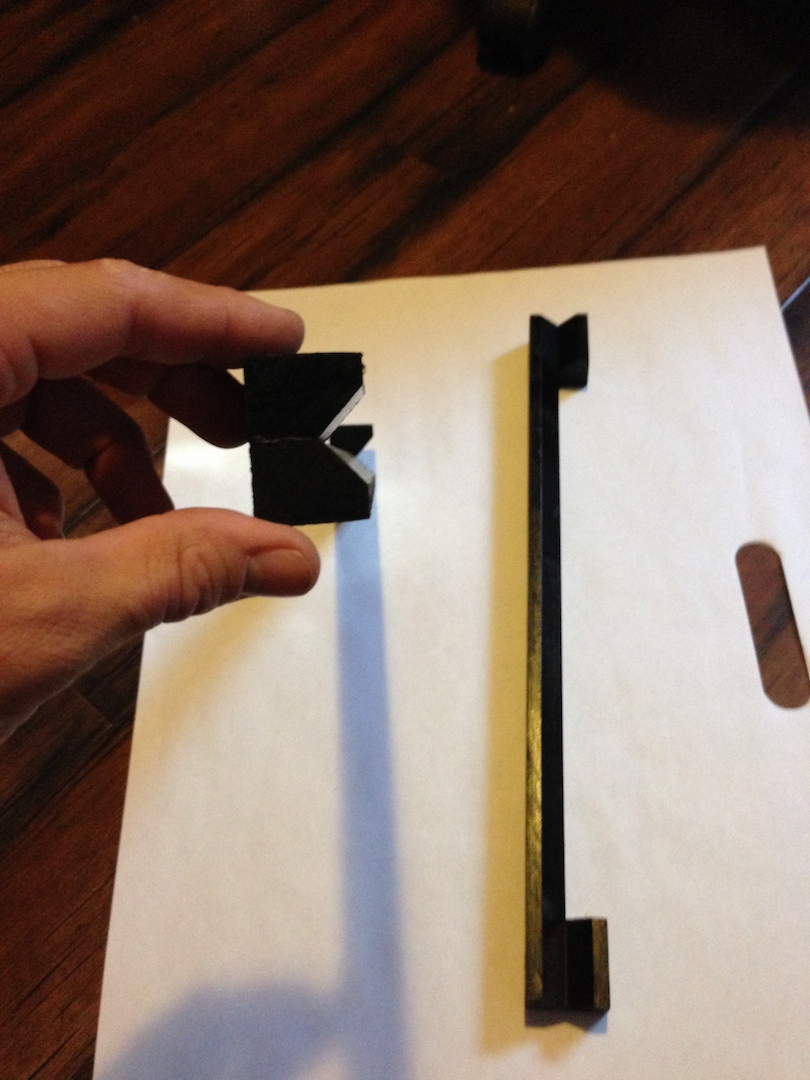
Now that I have the racking in hand I went to work on figuring out a mount option to get it to hang from the walls. The ladder rack I purchased came with these two adjustable hook bars, I figured I could come up with a wood cleat of sorts attached to wall studs, that would be sturdy enough. So off into the workshop to scrounge for some scraps, I happened to have some scrap pieces about 3/4″ by 1″ that would work great. Ran them through the table saw to put an angle on them for the hook to grasp and then pieced them together and screwed them into the wall.
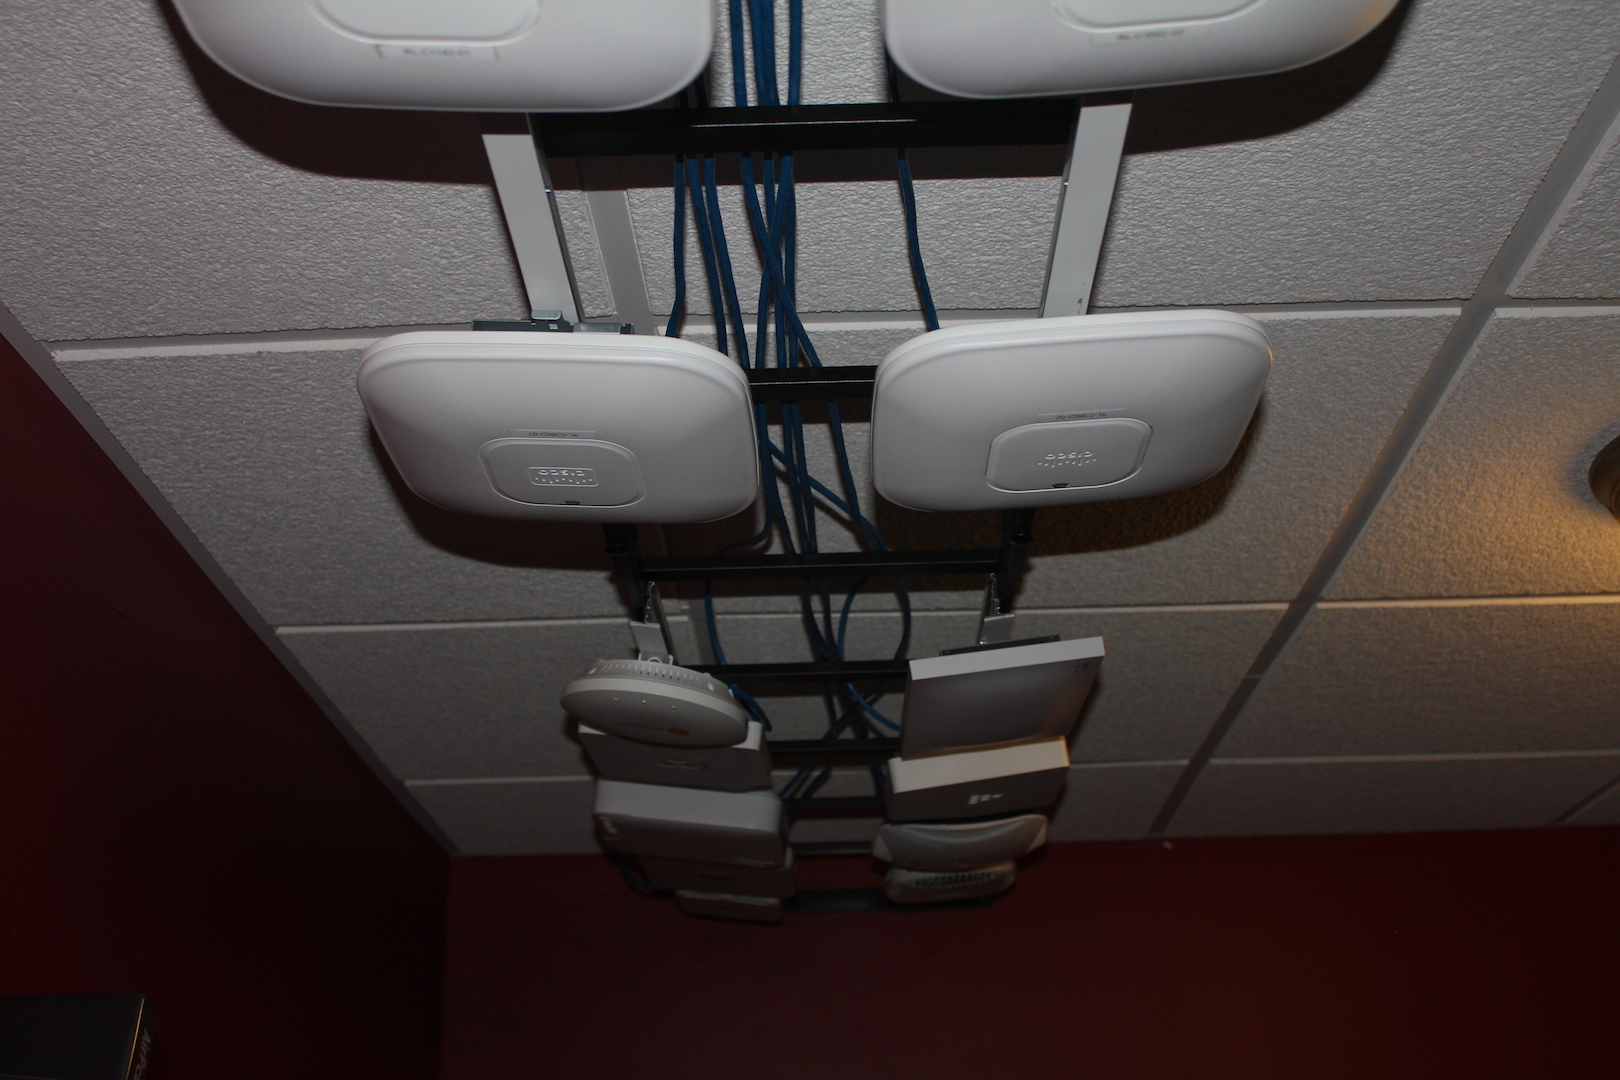
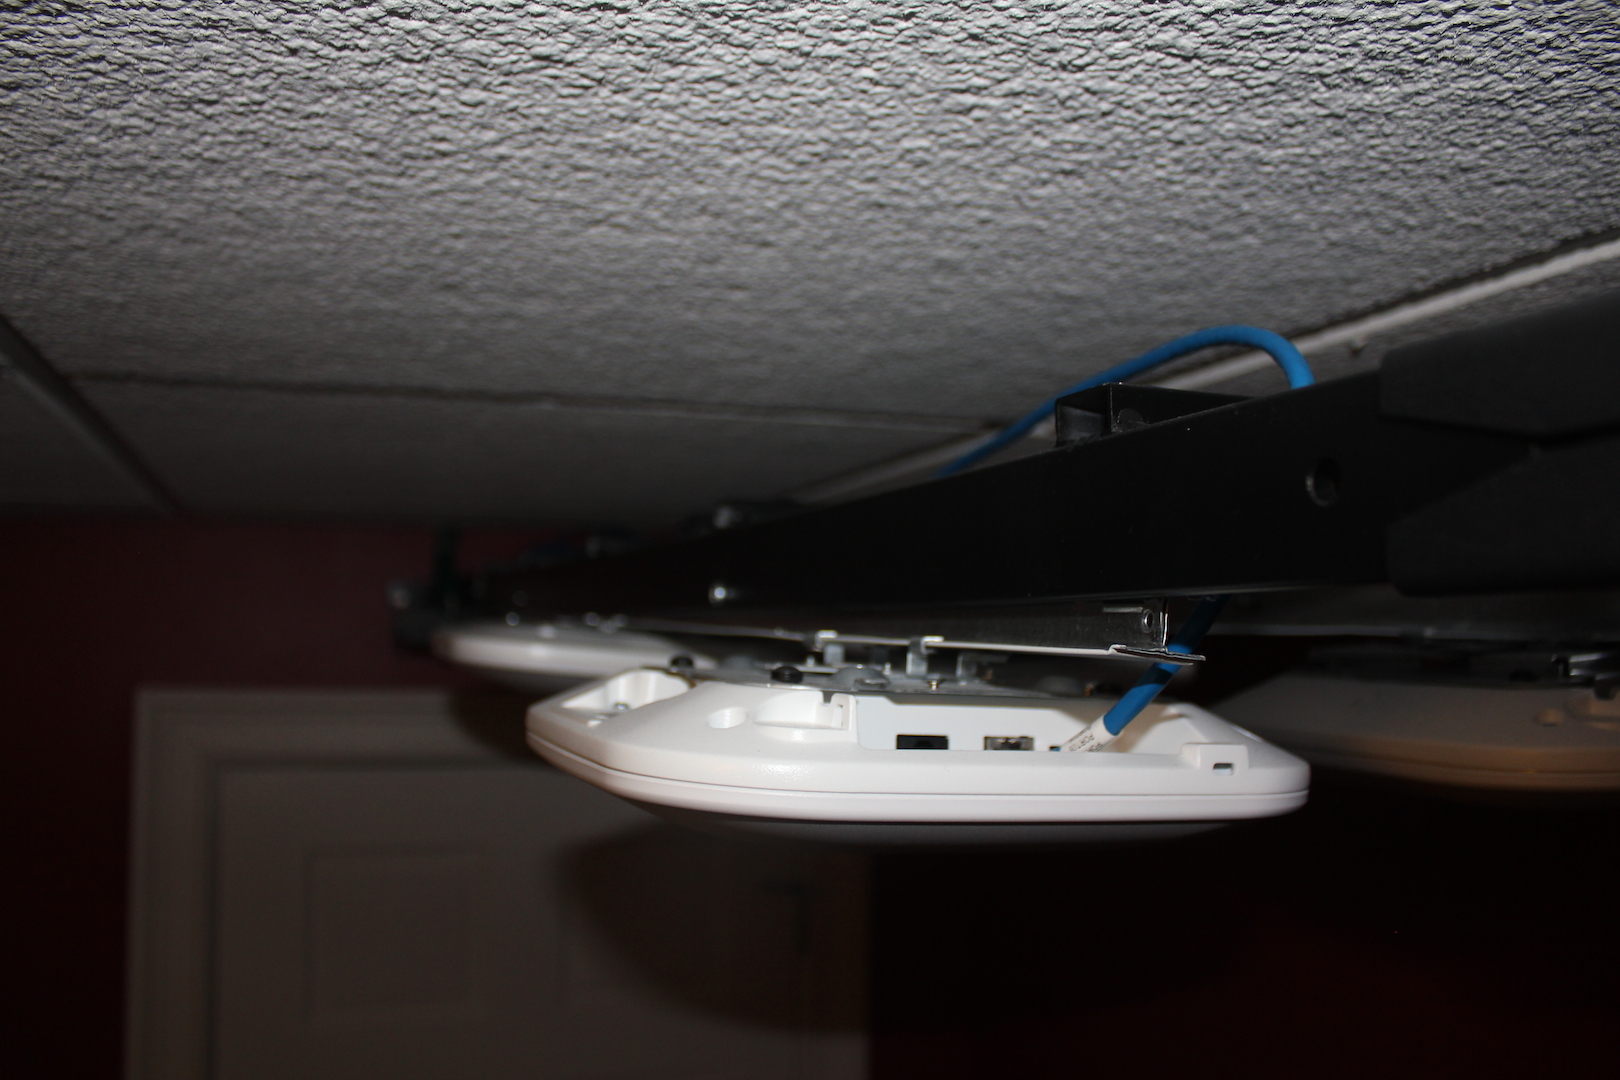
But how does one get the APs to mount to the ladder rack? I started thinking about using plywood along the ladder rack, but that added a lot of weight, something I was already concerned about with having 12+ APs mounted to the racking. After thinking about it I figured the easiest way to mount these would be is to simply get ceiling T bar rails and mount those to the ladder rack with some self tapping screws dropping the lip down about 1/4″ or so allowing for the AP clips to be able to attach. All said and done it turned out really well and actually is quite flexible but still strong enough to support the load of 4 Cisco APs, 2 Meraki APs, 2 AeroHive APs, 2 Aruba APs, 2 Motorola APs, an AirTight AP, and a Ruckus AP. Took me about an hour to do, but then again I have been told I can be pretty handy and I have easy access to all the tools to do something like this!
Final Parts List:
1 x SRCABLELADDER (Amazon)
4 x DONN Brand 4′ x 1 1/2″ Cross Tee (Home Depot)
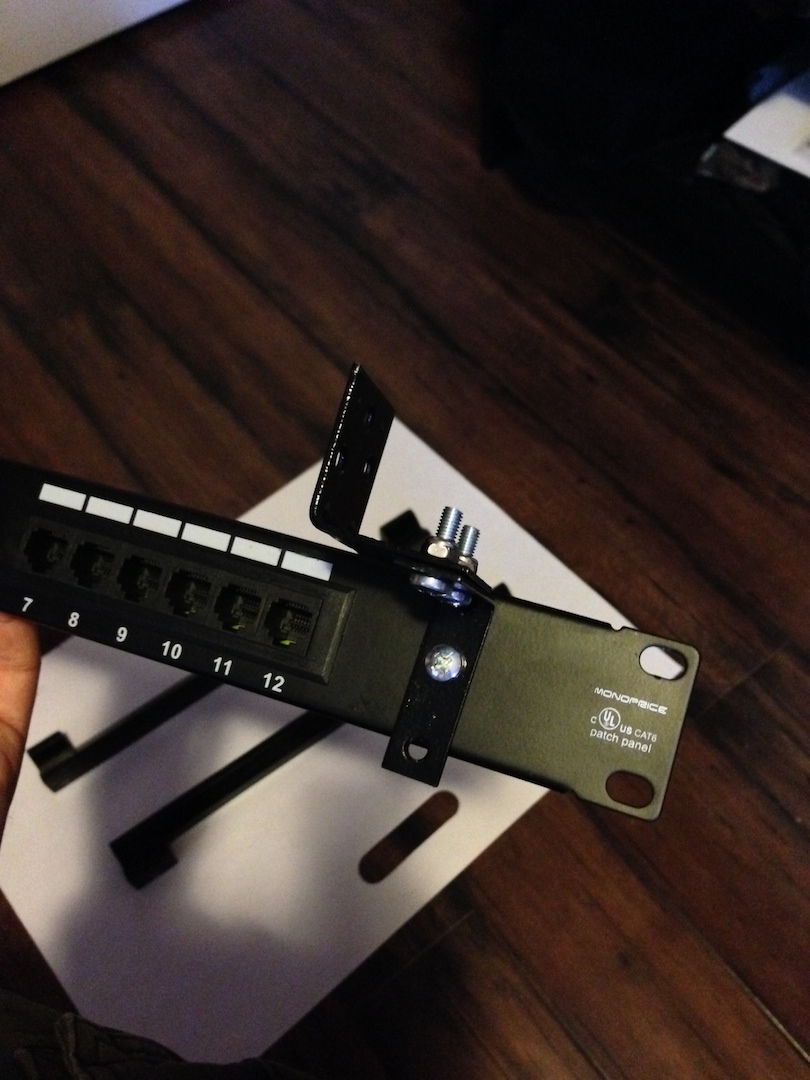
1 x Cat6 Patch Panel 110 Type 12 Port (Monoprice)
Misc bolts and nuts to mount cross tee to ladder racking
4 x 3 1/2″ Screws
Misc lengths of wood


Pingback: AP Ladder